If you are anything like me, chances are you never gave a damn about Steam custom skins because you couldn’t stand the hassle of keeping them up to date.
Or maybe you never heard of Steam custom skins: well, in this case just know that… there are Steam custom skins and they are easy to install and available for free!
Anyway, the usual course of action is this:
- download a custom skin;
- extract its folder in the
Steam\skinsfolder; - wait for the tiniest Steam update to break it;
- repeat from step 1.
What a boring mess.
Luckily there is a totally better way to do this: GitHub (or simply Git for all the tech savvy out there, but you should be able to do that without reading this guide).
Enter GitHub
GitHub is a convenient service programmers costantly use to do stuff with their code and other people’s code.
In our case, we’re gonna use the GitHub for Windows client to clone a skin from its repository on GitHub to our Steam\skins folder and we’re gonna keep it up to date, in sync with the official releases.
Install GitHub for Windows
First thing first: create a free account on GitHub.
Once done, download, install and launch GitHub for Windows, then log into your account.
Now that you have all you need in place, find your custom skins of choice on GitHub.
Choose a Steam custom skin
Personally, I use Pressure, but Air too is getting a lot of love (I love Google’s material design, but here it seems there’s really too much wasted real estate for my tastes).


Clone the Steam custom skin in your desktop
Once you’ve made your choice, head to the skin’s GitHub page and click on the Clone in Desktop button in the bottom right.

You should now see a popup asking if you want to open the link with the GitHub application (if you’re not logged in, the link instead redirects you to the GitHub for Windows download page). Let it do what it wants.
Now GitHub for Windows will make you choose a folder where to clone the skin. Choose Steam\skins (which is: the skins folder inside your main Steam folder, but of course it depends on where you installed Steam in the first place).
GitHub now creates a folder for your skin and downloads everything into.
And that’s it. You are already set up to use the skin on Steam, but before we get there, here’s how you keep it up to date.
Keep your Steam custom skins up to date
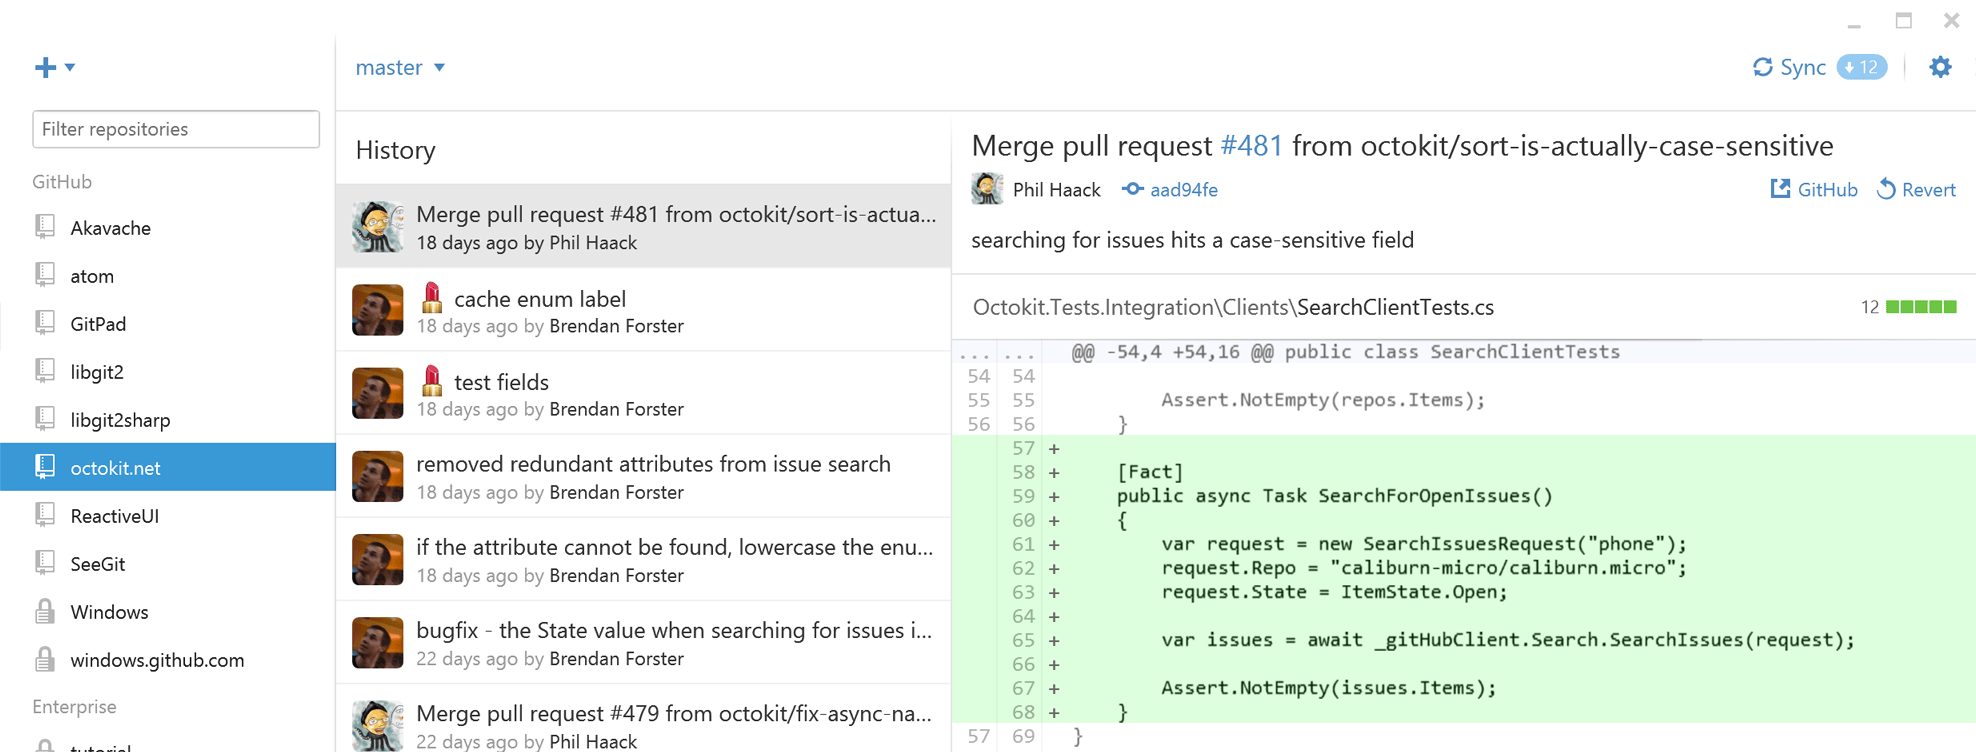
Look at the top-right corner of GitHub for Windows, where it says Sync.
If there’s a number with an arrow facing down, it means there are some updates ready for your skin.

Simply click on Sync and let it download every updated file.
Done!
Enable your skin in Steam
Open Steam and get to the Settings.
In the Interface tab you should see a dropdown with a label saying “Select the skin you wish Steam to use (requires Steam to restart)” and the “ option selected.
Pick your skin (eg. Pressure-for-Steam) and restart Steam.
That’s it!